Managing categories
Creating or modifying categories
The Category Input driver allows you to define up to ten categories of capital items.
To add or modify categories:
-
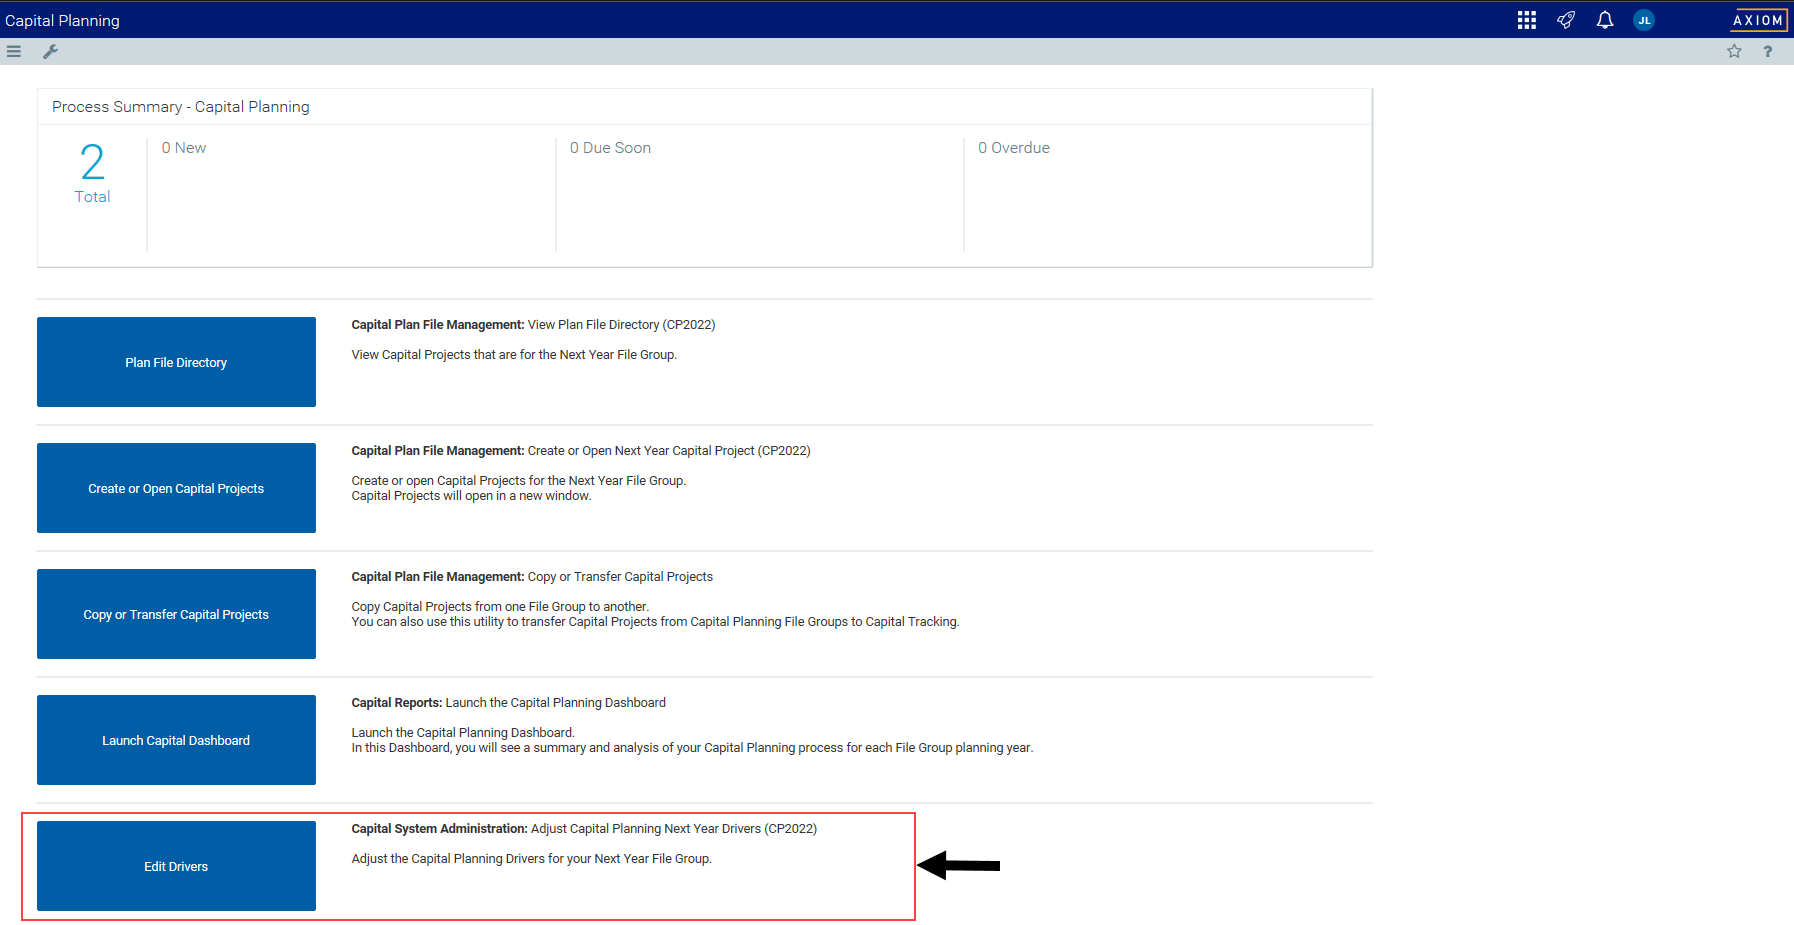
From the Axiom Capital Planning home page, click Edit Drivers.
NOTE: To access this location from the Cap Planning Admin task pane, in the Administration section, click Capital Planning Drivers, and double-click Capital Planning Drivers.

Click image to view full size
-
From Configuration tab, click Category Input Table.
-
In the Description to be used for Category field, type a term used to refer to categories throughout the system.
NOTE: The default term is Category, but your organization may choose to use a different term.
- From the Use Category drop-down, select when to enable the categories.
- From the Enable Category for CP or CT drop-down, select to enable the category for Axiom Capital Planning only, Axiom Capital Tracking only, or for both.
-
For the Category Required for Save option, do one of the following:
- To require users to select a category before submitting a capital request, set this option to Yes.
- To not require users to select a category before submitting a capital request, set this option to No.
- For each category, complete the following:
- In the Description column, type a name for the category.
- In the Help Text column, type additional information that describes the category
- In the Capital Account column, select the capital account the category belongs to.
- To add a category, click + Add Category, and complete Step 7.
- After making your changes, in the upper right corner of the page, click Save.
- At the confirmation prompt, click OK.
If you are making changes to this driver, make sure to process the plan files to propagate your changes.
Deleting categories
To delete categories:
- In the Cap Plan Admin task pane, in the Capital Planning Commands section, navigate to the drivers for the previous year, current year, or next year.
- In the Cap Track Admin task pane, in the Administration section, double-click Capital Tracking Drivers.
-
In the Capital
-
Select the check box next to the Description field.
- After making your changes, in the upper right corner of the page, click Save.
- At the confirmation prompt, click OK.
If you are making changes to this driver, make sure to process the plan files to propagate your changes.
